

Mushroom spores are among the most rewarding things to look at under a microscope. They are small enough to need real magnification, but large and varied enough that shape, size, colour and wall details tell you a lot about the fungus that made them. Spores are one of the main tools mycologists use to separate species, and learning to observe and measure them properly is the foundation of any serious spore microscopy work. This introduction covers what you need, how to make a good slide, what to look for and how to record it.
What You Are Looking At
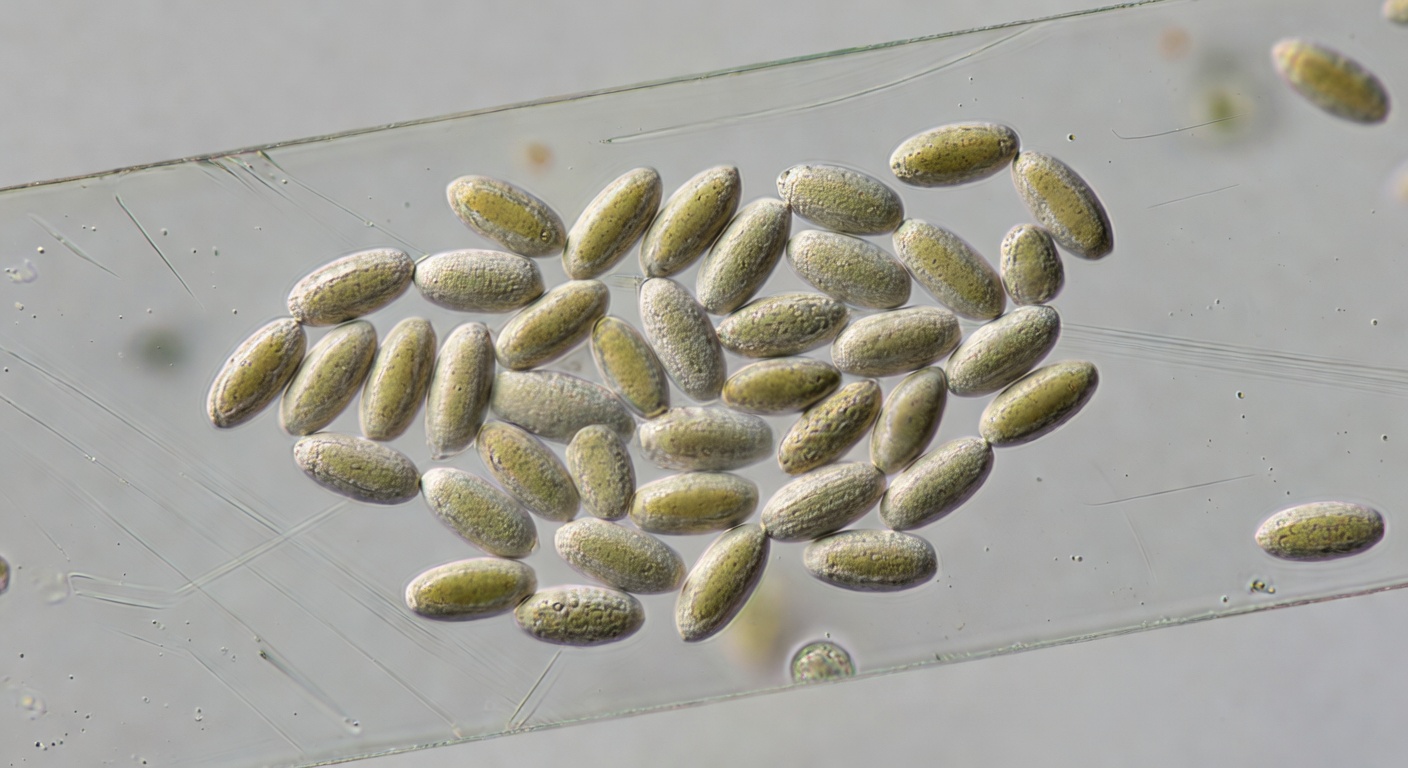
A mushroom spore is a single reproductive cell, produced on the gills in its millions. Most are somewhere between about 4 and 20 micrometres long, far below what the eye can see. Each carries half the genetic material needed for a new mycelium. Our guide to the mushroom life cycle explains where spores come from and why they matter. For microscopy, the useful point is that spore features are largely fixed for a species, which is what makes them so valuable for identification.
The Microscope You Need
A toy microscope will not get you far. For spores, you want a compound microscope with:
- A 40× objective, giving around 400× total magnification with a 10× eyepiece. That is enough to see shape and colour clearly.
- A 100× oil immersion objective, giving around 1,000×. You need this for measuring accurately and seeing fine surface details. Immersion oil between the lens and the cover slip lets the objective gather more light and resolve finer detail (oil immersion).
- An ocular micrometer, a scale inside the eyepiece, so you can measure what you see.
- A built-in light, a mechanical stage and a fine-focus knob.
Mycologist Michael Kuo’s widely used guide makes the same point: for anything beyond casual looking, you need oil immersion at about 1,000× and an ocular micrometer (MushroomExpert, “Using a Microscope to Study Mushrooms”). There is also a physical ceiling. Even the best light microscopes cannot resolve details much finer than about a quarter of a micrometre (Nikon MicroscopyU: Resolution), which is why the tiniest spore ornaments can be hard to see.
Making a Good Slide
For a plain-language look at what a prepared spore syringe is, and why this is not a guide to making one, see Make a Microscope Slide from a Mushroom Spore Syringe.
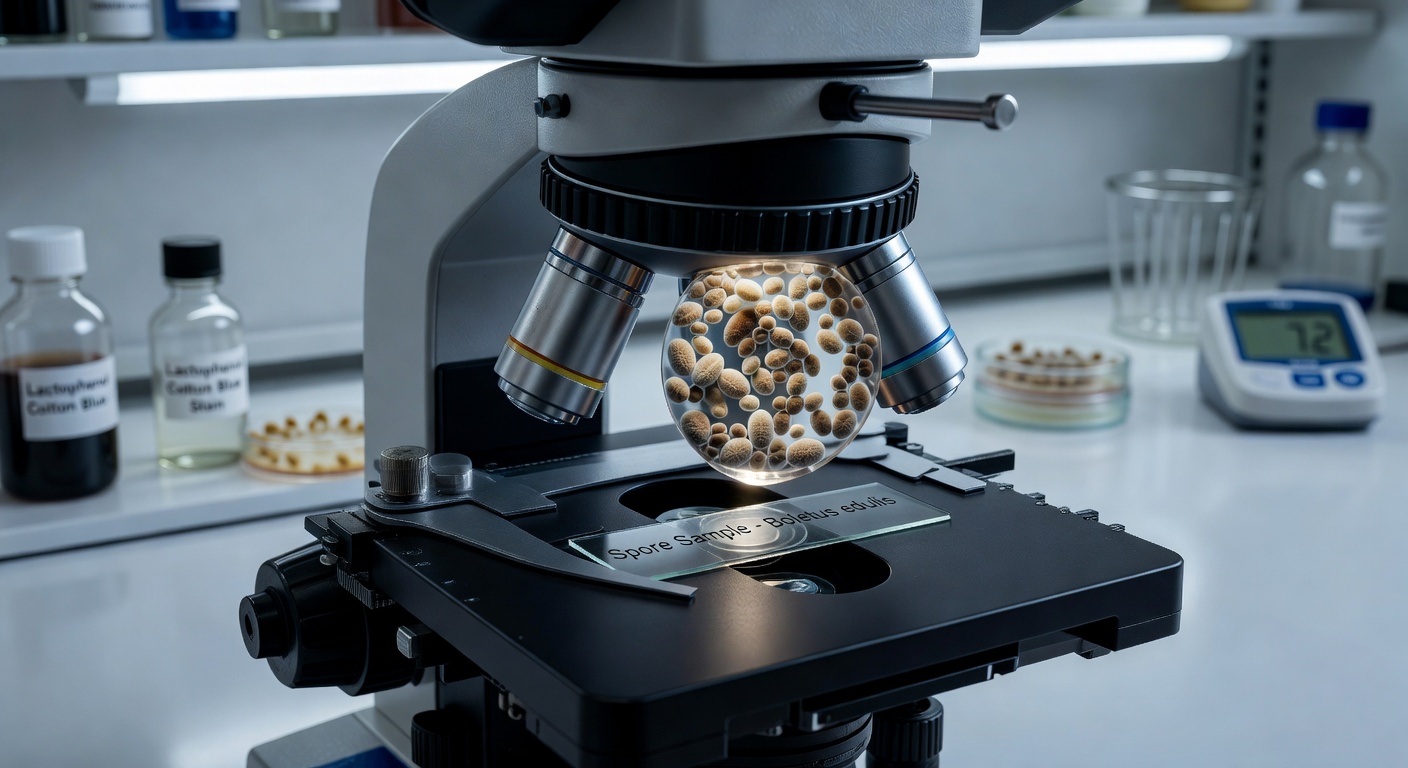
- Start clean. Use a clean glass slide and a fresh cover slip. Dust and fibres are easy to mistake for fungal structures.
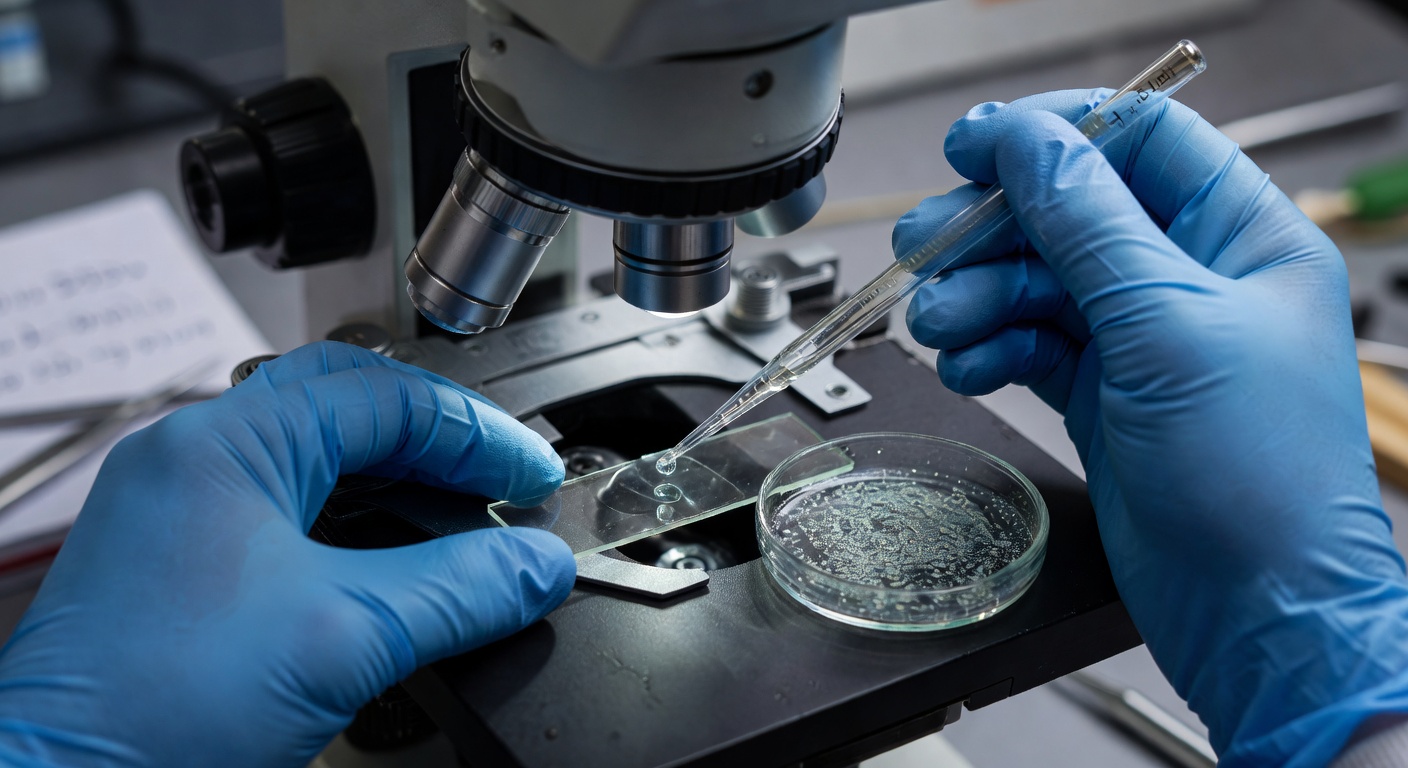
- Add your sample. From a spore syringe, one small drop is enough. From a print, scrape a tiny amount of the deposit into a drop of water on the slide.
- Lower the cover slip at an angle so the liquid spreads without trapping air bubbles.
- Focus low, then go high. Find the sample at 100×, move to 400×, and only then add a drop of oil and switch to the oil objective.
Plain water is fine for most spore work. Mycologists also use a few standard mountants and reagents. A weak solution of potassium hydroxide (KOH) is a common mounting medium that helps clarify material. Melzer’s reagent, an iodine solution, is used to test whether spore walls stain blue-black (amyloid), reddish-brown (dextrinoid) or not at all. That reaction is an important character in some genera (Melzer’s reagent). Melzer’s contains chloral hydrate, which is restricted in some countries, so check before trying to buy it. Handle all reagents with care.
If your syringe looks like plain water, that is normal. Our guide to clear spore syringes explains why, and for working from prints, see spore print techniques.
What to Look For
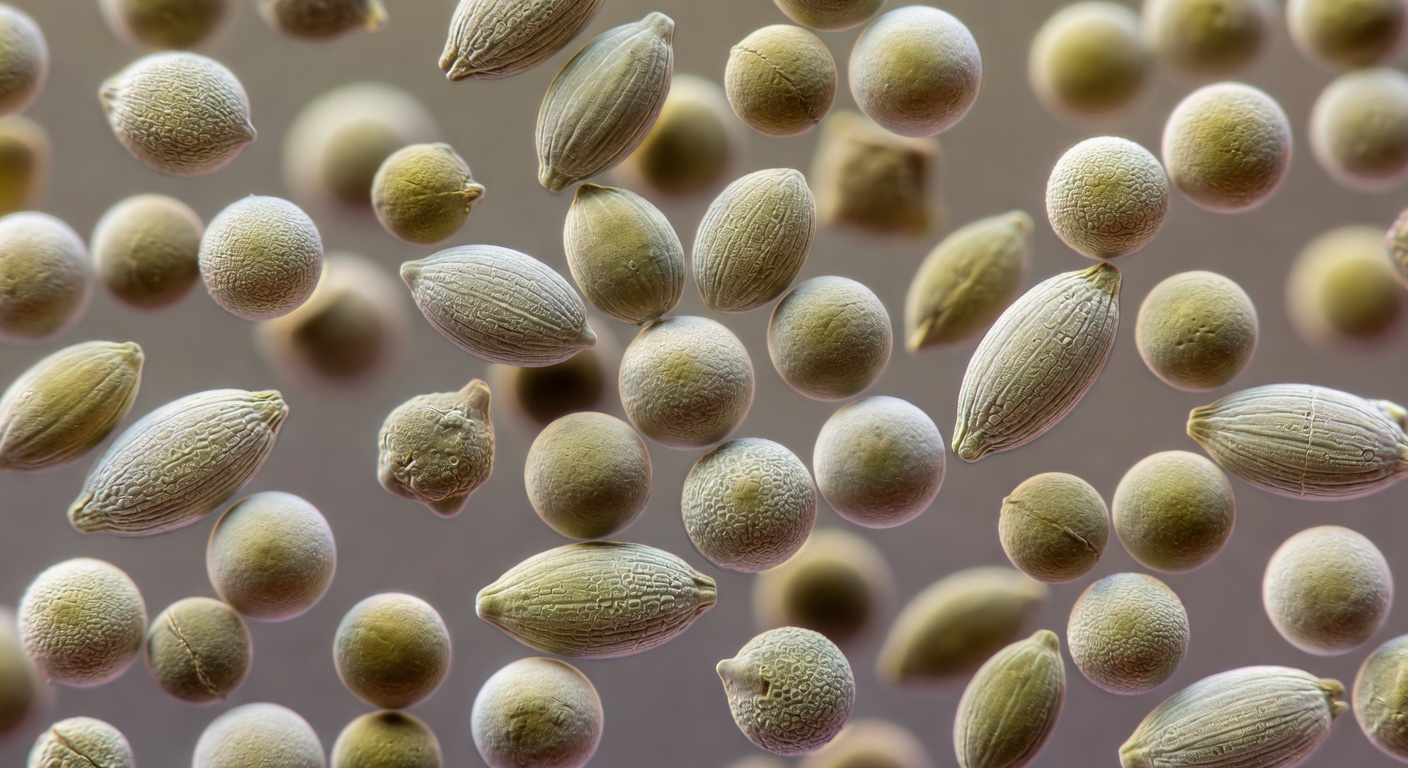
- Shape. Ellipsoid, round, almond-shaped, angular, lemon-shaped. View spores from more than one side, since some look different face-on and in profile.
- Size. Length and width, measured in micrometres.
- Colour. Seen in water under ordinary light. It often matches the print colour in a paler form.
- Wall and surface. Smooth or ornamented with warts, ridges or a net-like pattern, and thin- or thick-walled.
- Germ pore and apiculus. Many dark-spored mushrooms have a germ pore at one end, a thin spot in the wall. The apiculus is the small peg at the other end where the spore was attached.
Psilocybin-producing species make a good worked example. Published descriptions of P. cubensis give spores of about 11.5–17.3 × 8–11.5 µm. They are subellipsoid, thick-walled and smooth, with a germ pore, and they are dark purple-brown in mass (species summary). The P. cubensis species guide covers the species in more detail, and cubensis spore diversity looks at how much variation you can expect.
Measuring Properly
Before you can measure, you need to calibrate the ocular micrometer against a stage micrometer, a slide with a precisely ruled scale. That gives you a conversion factor for each objective. Kuo gives a worked example: if one eyepiece unit equals 1.07 µm at your highest magnification, a spore spanning 10 units is about 10.7 µm long. Calibrating once per objective is usually enough.
When you measure, do not stop at one spore. Measure a set of mature spores, twenty or more is common practice, and record the range of lengths and widths. Many mycologists also note the average length-to-width ratio, written as Q, which captures shape as a number. Leave out obviously immature or misshapen spores, and note the mountant you used, since it can slightly affect size.
Species, Strains and What Microscopy Can Tell You
Spore features are excellent at separating species. They are much less useful for separating culture names within a species. The many named P. cubensis cultures sold by vendors all fall within the same species range, and their spores generally cannot be told apart under a microscope. Our species vs strain primer explains why culture names are labels for provenance rather than separate taxa.
Keep Good Notes
Good records make your observations useful to you later and to anyone else. For each slide, note the sample source and date, the mountant, the magnification, your measurements and a few photos taken at consistent settings. A simple notebook or spreadsheet is enough. Spore laws vary by location, so check the rules where you live; our guide to spore laws in the USA and Canada is a good starting point.
Mushroom spores are sold strictly for microscopy and research purposes only. The cultivation of psilocybin mushrooms is illegal in many jurisdictions.


